VW Golf manuals

Volkswagen Golf Service & Repair Manual: Checking charge air system for leaks

Special tools and workshop equipment required
   
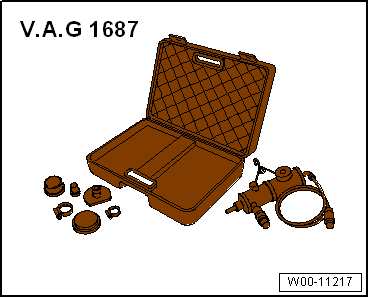
Charge air system tester -V.A.G 1687-
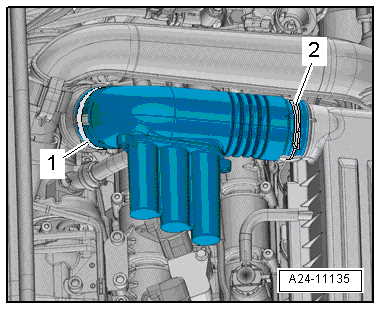
Procedure
  Checking charge air system for leaks
–  Release hose clips -1- and -2-, and remove air pipe.
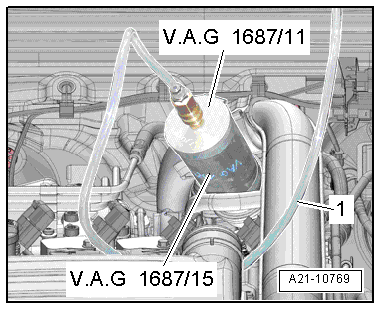
 

Checking charge air system for leaks

–  Connect adapter -V.A.G 1687/15- with adapter -V.A.G 1687/11- to turbocharger.
–  Connect hose -1- of charge air system tester -V.A.G 1687- to adapter.
 

Checking charge air system for leaks

Prepare charge air system tester -V.A.G 1687- as follows:
–  Unscrew pressure control valve -2- completely, close valves -3- and -4-.
To turn the pressure regulating valve -2- the knob must be pulled upwards.
–  Connect charge air system tester -V.A.G 1687- to compressed air -1- via commercial adapter.
  Note
If there is water in the sight glass, drain at water drain screw -6-.
–  Open valve -3-.
Risk of damage to engine
Risk of damage because pressure is set too high.
The pressure must not exceed 0.5 bar!
–  Adjust pressure to 0.5 bar with pressure control valve -2-.
–  Open valve -4- and wait until test circuit is full. If necessary, readjust pressure to 0.5 bar.
–  Check charge air system for leaks by listening, touching, with commercially available leak detector spray or using ultrasonic tester -V.A.G 1842-.
  Note
A small amount of air escapes through the valves and enters the engine. Therefore a holding pressure test is not possible.
How to use the ultrasonic tester -V.A.G 1842- → operating instructions
Before removing the adapter, release pressure in the test circuit by pulling off hose coupling.
Installation is carried out in the reverse order; note the following:
  Note
Renew seal and O-rings.
Specified torques
→ Fig. „“Installing air ducts with screw-type clips”“
 

Checking charge air system for leaks

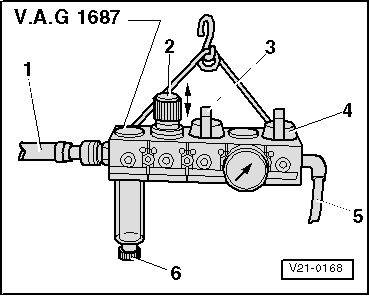
Removing and installing charge air cooler
Special tools and workshop equipment required     Hose clamps up to 25 mm -3094-   ...

Mixture preparation system, electronic inj., Gas
...

Other materials:

Assembly overview – repair kit for headlight housing, LED headlights only
1 -  Headlight Removing and installing → Chapter 2 -  Inner retaining tab Removing and installing → Chapter 3 -  Bolt Qty. 2 ...

O-ring
These O-rings seal the joints between the individual components of the refrigerant circuit. Use only seals that are resistant to refrigerant R134a and its associated refrigerant oils. This is assured by using genuine replacement parts. ...

Renewing LSU Lambda probe (6-pin)
  Note If necessary, replace attachment parts, cable ties or marking rings to match the uniform probe to the defective probe as specified. The wires should not be crimped or cut as otherwise the function of the L ...

© 2016-2024 Copyright www.vwgolf.org