Volkswagen Golf Service & Repair Manual: Adjusting headlight installation position
| Special tools and workshop equipment
required |
|
|
|
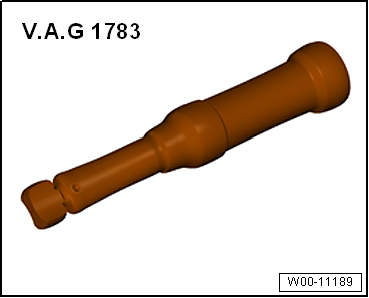
| Torque wrench -V.A.G 1783- |
|
|
|
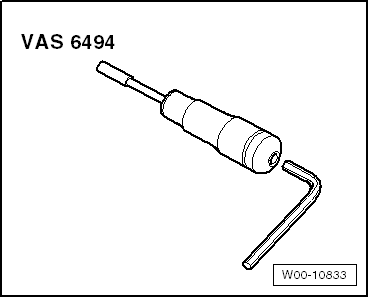
| Torque screwdriver -VAS 6494- |
|
|
|
| – |
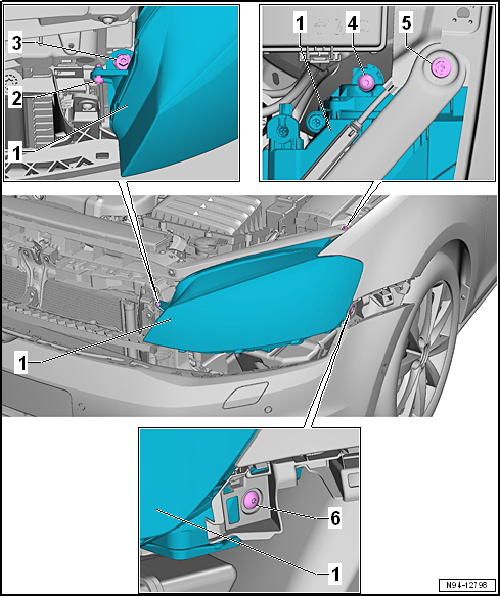
Loosen bolts -3-,
-4-, -5- and
-6-. |
| – |
Ensure uniform gap between headlight -1-
and wing. |
| – |
Tighten bolts -5- and
-6-. |
| – |
Adjust banjo bolt of bolt -3- and stop
bolt -2- to ensure gaps are even all round. |
| – |
Tighten bolt -3- inside banjo bolt. |
| – |
Check headlight setting and adjust headlight if necessary
→ Booklet36.1 |
| → Chapter „Assembly overview - headlight“ |
Special tools and workshop equipment
required
Torque wrench -V.A.G 1783-
...
Note
Removal and installation are described for the left side.
Removal and installation on the right side are carried out in
the same way.
...
Other materials:
Lower section of the centre console
Fig. 8 Overview of the lower section of
the centre console (left-hand drive vehicles)
Fig. 9 Overview of the lower section of
the centre console (right-hand drive vehicles)
Key for and :
Stowage compartment
AUX-IN socket , USB socket
or multimedia socket (MEDIA-I ...
Removing and installing rear bass loudspeakers -R15-/-R17-, 4-door
Rear left bass loudspeakers -R15-/rear right bass
loudspeakers -R17- are located in rear doors (bottom).
Note
Removal and installation are described for the left side.
Removal and installation on the right side are carried out i ...
Assembly overview - flap for charging bay
1 -
Flap for charging bay
Removing and installing
2 -
Bolt
For actuator
2 Nm
Qty. 3
3 -
Actuator
Removing and installing
4 -
Immediate charge button -E766-
...
© 2016-2024 Copyright www.vwgolf.org

 Removing and installing headlight
 Removing and installing front turn signal bulb -M5-/-M7-, dual halogen
headlights
Removing and installing front turn signal bulb -M5-/-M7-, dual halogen
headlights